Rim Cleaning: Why Your Wheel Finish Dictates Your Washing Strategy
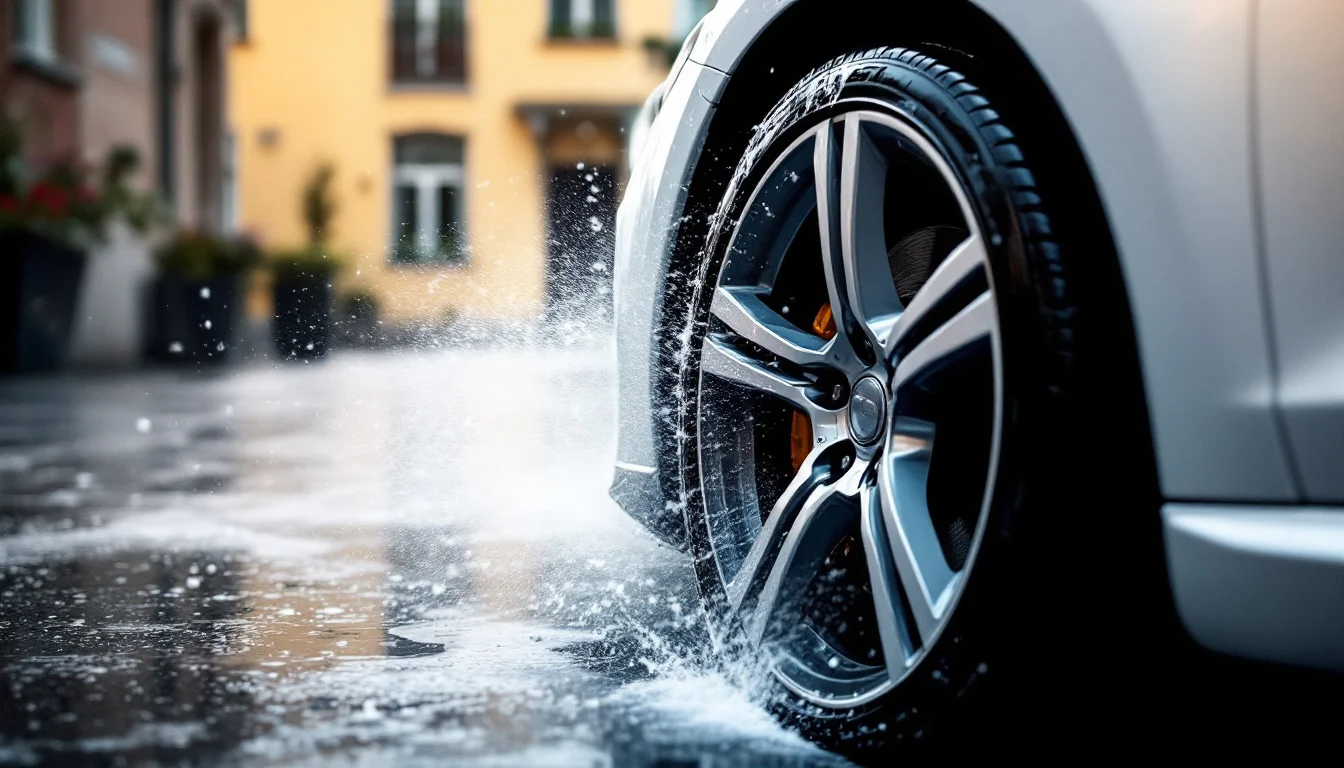
Spending hours detailing a vehicle only to be left with cloudy rims or baked-on brake dust is a common frustration for many car owners. The standard approach—spraying wheels with generic car shampoo and scrubbing them all at once—is often the root cause of these poor results. Wheels operate in an exceptionally harsh environment, constantly bombarded by high-temperature particulates, road salts, and iron deposits from braking systems.
Treating all car rims the same is the fastest way to ruin them. Achieving a professional clean requires a targeted approach that respects the underlying material chemistry. A workflow that yields a brilliant shine on a painted alloy will permanently destroy the flat finish of a satin wheel or etch the surface of bare chrome. Preventing chemical damage and micro-scratches demands matching your cleaning agents to the specific wheel finish.
Key Takeaways
- Identify the finish: Always select chemicals based on whether the rim is chrome, matte, or painted, as bare and flat finishes are vulnerable to irreversible etching, while clear-coated rims are more resilient.
- Prevent cross-contamination: Never use the same brushes for tyres and delicate rim surfaces.
- Isolate the workflow: Professional practice dictates cleaning and rinsing one wheel completely before moving to the next.
- Dry mechanically: Rims must never be left to air-dry; use microfibre cloths to prevent permanent watermarks.
The Chemical Trap: Why Your Rim Finish Dictates Your Strategy
The most critical step in automotive wheel care occurs before any water touches the vehicle. Selecting the right chemical cleaner depends entirely on the presence or absence of a protective clear coat, as well as the specific texture of the finish.
The Vulnerability of Chrome
Unlike standard clear-coated alloys, traditional bare chrome rims lack a protective clear coat. This structural absence makes them highly sensitive to acidic or harsh alkaline cleaners. If exposed to aggressive chemicals, the bare metal can suffer a chemical reaction that causes permanent cloudiness, a phenomenon known in detailing as 'hazing'.
For chrome rims, maintenance requires a highly conservative approach. It is recommended to use only dedicated chrome polishes or a simple mild soap-and-water solution. To prevent micro-scratching on the bare finish, these should be applied with ultra-soft microfibre towels or mitts instead of stiff abrasive brushes. Furthermore, because there is no clear coat acting as a barrier, chrome requires regular polishing and sealing with a specialised wax or sealant to prevent oxidation and staining.
The Complexity of Matte and Satin
Matte or satin rims present an entirely different chemical and physical challenge. These wheels derive their flat appearance from intentionally designed microscopic surface textures or matting agents that scatter light. They must be cleaned with a dedicated matte wheel cleaner and soft brushes. Crucially, matte wheels must not be polished; applying traditional polishes will level this microscopic texture, turning the flat finish into a patchy, irreversible gloss. Afterwards, they should be protected with a specialised matte sealant to preserve the flat finish and ease future cleaning.
Painted and Powder-Coated Durability
By contrast, painted rims with a protective clear coat and highly durable powder-coated finishes are far more resilient. Consequently, they are easier to maintain. A pH-neutral wheel cleaner or ordinary car wash soap is safe to use on these surfaces. While a clear coat provides a sacrificial layer on painted wheels, correcting minor scuffs requires caution, as the complex geometry of rims and varying finish thicknesses make mechanical polishing more challenging than on standard flat bodywork.
| Wheel Finish | Required Chemistry & Protection | Prohibited Actions & Tools |
|---|---|---|
| Chrome | Mild soap-and-water, dedicated chrome polish, specialised wax/sealant | Acidic/alkaline cleaners, stiff abrasive brushes |
| Matte / Satin | Dedicated matte cleaner, specialised matte sealant, soft brushes | Polishing of any kind, standard glossy waxes |
| Painted / Powder-Coated | pH-neutral wheel cleaner, car wash soap, fine-grade polish | Harsh industrial acids that strip clear coats |
The Right Tools (and the Implements That Cause Damage)
Applying the correct chemical is only half the equation; mechanical agitation dictates whether the rim will emerge pristine or covered in micro-scratches. The primary rule of wheel detailing is avoiding cross-contamination. Do not use a tyre brush on rims and vice versa — the two brush types should be kept strictly separate. Tyre brushes are highly abrasive to scrub away embedded rubber grime, and dragging them across a rim will inflict immediate scratch damage.
Resolving the Toothbrush Debate
When attempting to clean intricate spoke designs, many vehicle owners reach for household items. However, a household toothbrush is an inefficient tool for the primary washing of rims: the overall surface is too large for such a small implement to be effective. Relying on such a tool for the main wash is impractical and may not adequately remove general grime. Rims generally require a gentle, purpose-built brush with long, non-abrasive bristles that can cover large areas and reach tight parts efficiently.
Purpose-built wheel brushes are an inexpensive upgrade for proper maintenance. These dedicated tools should form the core of any wheel cleaning kit.
However, there is a narrow exception for extreme edge cases. After detergent and pre-cleaning, stubborn dirt often remains on rims, especially in narrow gaps. While these are best cleaned with a proper wheel washing brush, for particularly tight spots a soft old toothbrush or a soft brush is also suitable. If a household brush must be used for unreachable micro-gaps, ensuring it is old and soft is mandatory to mitigate scratching risks.
The Professional Workflow: A Step-by-Step Guide
To guarantee safe and consistent results, professional detailers adhere to a strict sequential workflow. The methodology is anchored around environmental control and isolating each wheel to prevent chemical damage.
- Conduct a Chemical Test
- Adopt the One-Wheel Rule
- Flush the Wheel Wells
- Apply Detergent and Agitate
- Utilise 360-Degree Rinsing
- Mechanically Dry the Surface
FAQ: Common Rim Care Questions
Can alloy rims rust from winter road salt?
Aluminium and chrome rims cannot rust in the traditional sense like steel, but moisture and road salt can still leave severe marks. Prolonged exposure causes the material to oxidise or develop salt corrosion. If this environmental damage occurs, it should only be removed very carefully, e.g. with a soft brush, because aluminium and chrome scratch easily. Once the corrosion is cleared, the surface should then be polished to restore its protective barrier.
How long should wheel wax cure before buffing?
Wax applied to rims should be left for 10–15 minutes before being buffed off to ensure proper bonding and lasting protection against brake dust. Removing it too early reduces the sealant's durability.
Conclusion
The stringent requirements for wheel cleaning are largely dictated by the high volume of abrasive particulates generated by traditional braking systems. However, as the automotive industry transitions towards electric vehicle architectures with regenerative braking — which alters reliance on friction brakes and can reduce brake-dust generation under certain conditions — the volume of metallic dust adhering to rims may decrease compared to equivalent combustion-powered vehicles, although particulates from tyre and road wear remain significant. The extent of this reduction depends on driving style, brake pad compound, and how aggressively regenerative braking is configured; it is not a universal outcome. Low-dust brake pad compounds, including certain ceramic formulations, are already available for both combustion and electric vehicles. These trends may, over time, support a shift towards gentler, finish-specific maintenance techniques as the permanent standard for long-term automotive care.